

Sparrow Manual
Owner's manual and setup guide.
Owner's Manual
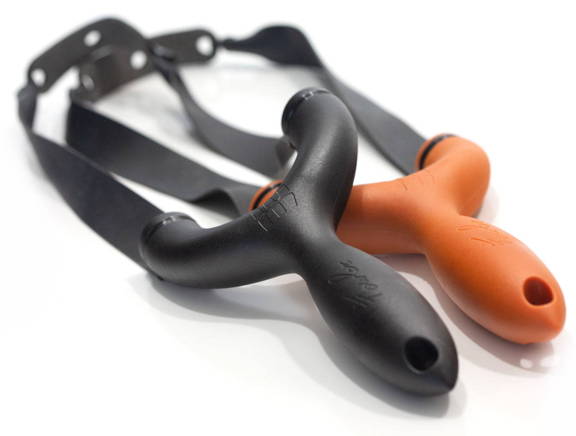
The Sparrow™ Slingshot. Designed by Zach Fowler. Made by SimpleShot®.
This manual will go over setup of your Sparrow slingshot and give you the knowledge to make sure you safely and correctly use your Sparrow.
We'll go over setup of the Sparrow frame with banding, possible grips for the Sparrow and safety.
Keep scrolling for the video owners manual that covers setup demonstration!
Get to know your SPARROW™ Slingshot
The first Fowler Series Slingshot, from SimpleShot®

Identify the Shooter Side of the Sparrow™ Slingshot Frame
This is the side of the Sparrow that faces you when you shoot the slingshot. This side has the SimpleShot logo and Fowler signature.

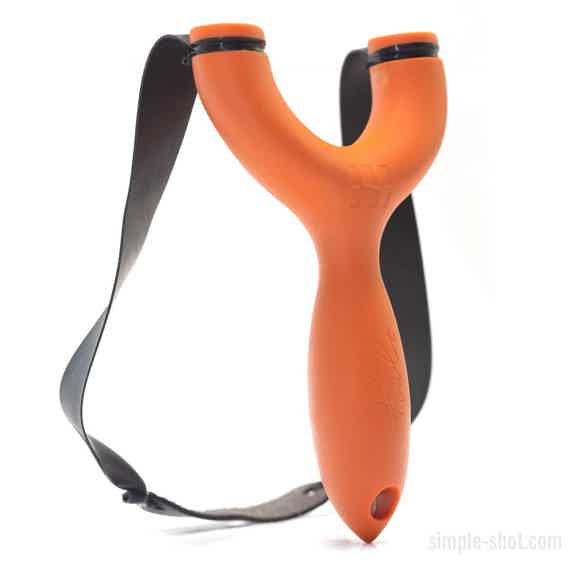
Identify the Sparrow™ Slingshot Frame Target Side
The target side is the side of the slingshot frame that faces the target when shooting. The target side will lie flat and reads "simple-shot.com"
OTT (Over The Top)
The Sparrow slingshot frame accommodates OTT banding only. This means the bands are attached so that the bands are drawn Over the Top of the forktips.
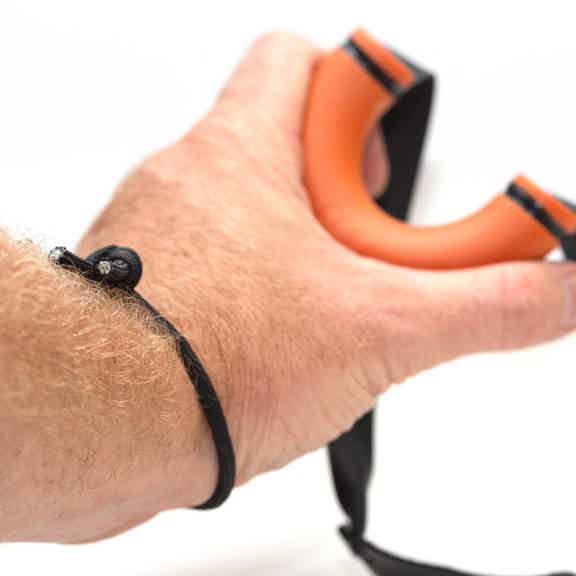
The Lanyard
A simple piece of paracord that attaches to the handle of your Sparrow slingshot frame and secures the slingshot to your frame-holding hand. The lanyard is a critical piece of safety gear!

Do not shoot stones or rocks from any slingshot.
Rocks – no matter how round they look – shoot erratically and shooting them may damage your slingshot and bands.
Due to the uncontrollable nature of shooting non-spherical projectiles, shooting a rock from a SimpleShot slingshot voids any / all warranties.
SPARROW SLINGSHOT SETUP INSTRUCTIONS
Step one: Install the Lanyard
It is critical to always have the lanyard securely wrapped around the wrist when shooting. Serious injury can result from improper use, so make sure you ALWAYS install and use the lanyard when shooting your slingshot!

Thread one end of the lanyard through the hole in the end of the Sparrow frame. Then, tie a simple overhand knot with BOTH tag ends of the lanyard.
Adjust knot placement before tightening.
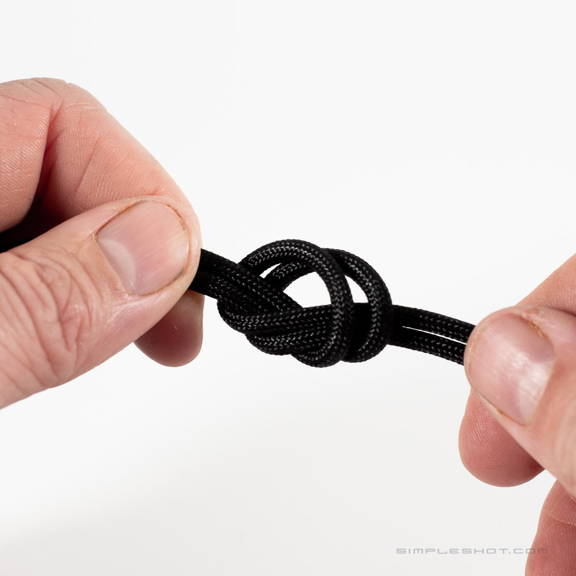
Adjust the position of the knot to vary size of the lanyard to fit your wrist. Then pull tightly on the two ends to secure the knot.
Make sure the knot is secure before using the lanyard.

Make sure the lanyard fits firmly but not too tight. It should be secure enough to prevent the Sparrow frame from ever slipping from your hand.
Always wear the lanyard securely when shooting the Sparrow!
Step two: Install your bandset onto your slingshot
Here are a few videos from the archives to help you better understand the Sparrow and OTT setups.
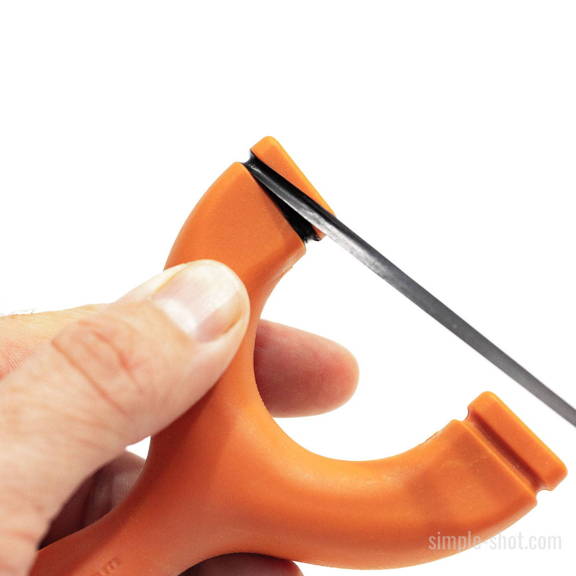
Step 1.
Make a few (2 is fine) foundational wraps into the fork groove with the tie-in tape. This provides a solid "grip" on the frame

Step 2.
Orient your band. You want the "ears" (the ends of latex where the pouch is tied in) on the OUTSIDE or facing DOWN.

Step 3.
Place the band onto the flat target side of the frame. Be sure to leave plenty of band (for step 7) and note the placement of the band.
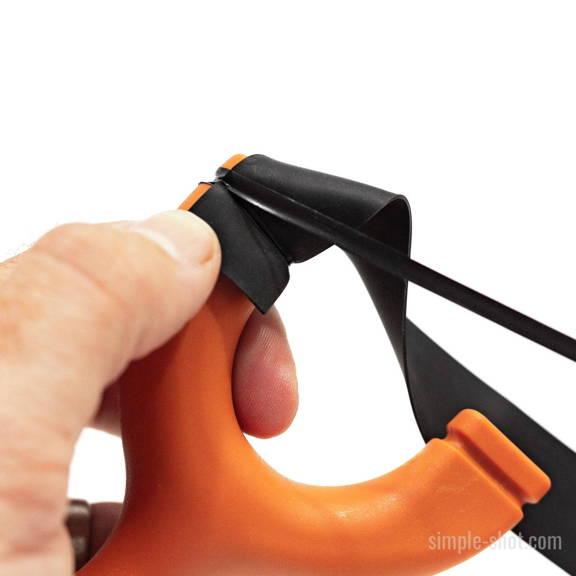
Step 4.
Place two wraps around the bandset to hold it in place. Keep each wrap under stretch (this is what secures the bandset).
Leave enough excess band to be able to fold the end back up and re-capture it, for extra strength. Use the bottom of the forktip as a guide to make sure you leave enough excess.

Step 5.
Take a moment to adjust your band to make sure it is flat and centered on the target side of the Sparrow slingshot frame.
Step 6.
Keep wrapping tightly to secure your band onto the frame. Leave enough material for at least 4 more wraps, to be sure.

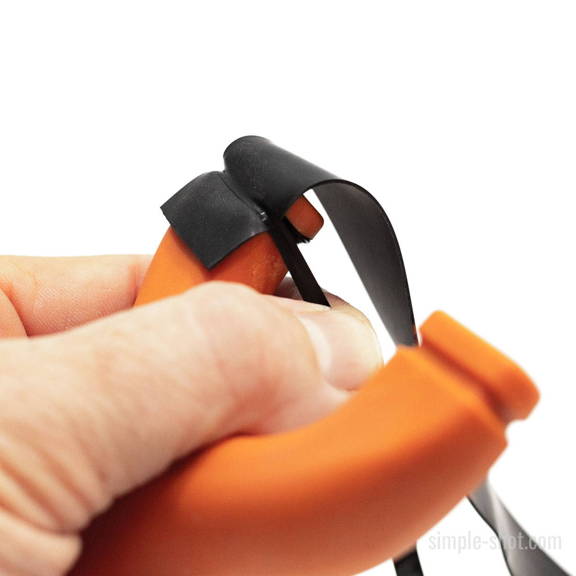
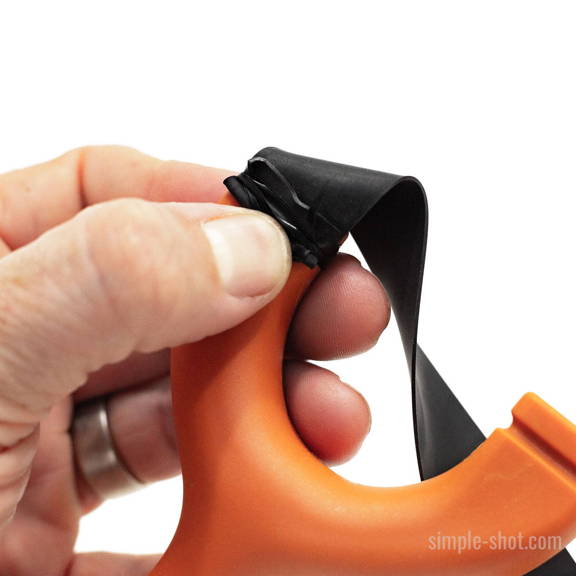
Step 7.
Fold the extra band tip up over the tie-in. This extra step ensures a tight hold on the Sparrow frame.

Step 8.
Keep wrapping, this time OVER the folded latex end of the band from step 7, maintaining a firm stretch on each wrap.
Keep stretching the tie-in material the whole time you are wrapping. Keep it under tension because the retraction of the tape is what provides the strength of the tie-in method.
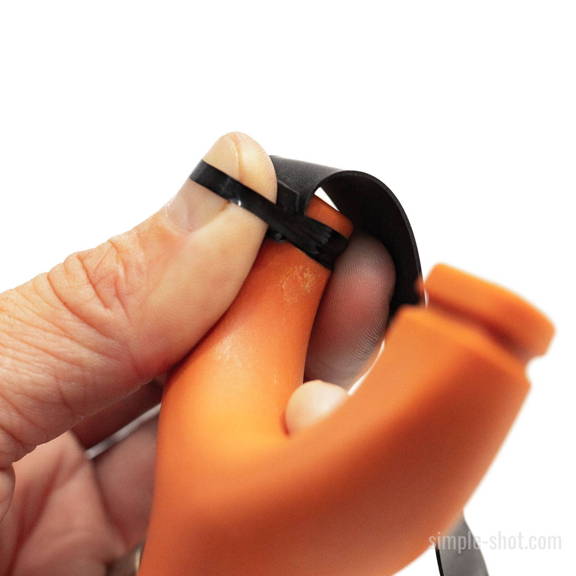
Step 9.
Now, place your thumb on the folded bandset end and place two wraps firmly (but not so tight that step 11 is impossible) OVER your thumb.
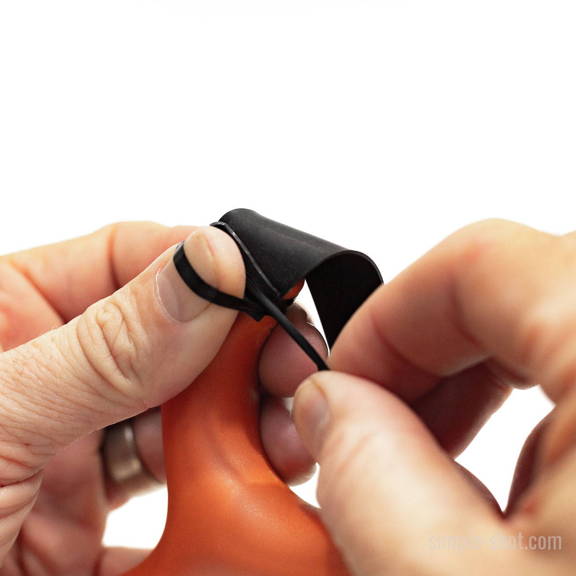
Step 10.
Place the tag end under your thumb. This is the trickiest part, but you can do it! The goal here is to bring the tag end UNDER the final wraps…
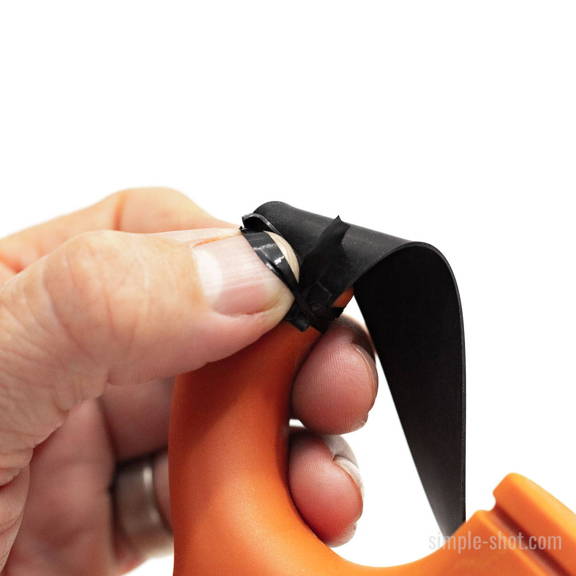
Step 11.
Simultaneously let the final wraps slide off your thumb while trapping the tag end and pulling it through under those final wraps.
Step 12.
You did it! Those final wraps are now binding the tag end down to the rest of the tie-in. The stretch is now binding it all together.
In step 9 – 11, you can use a tool (such as forceps, tweezer, hemostats, or small pliers) or a loop or string/paracord to pull the tag end through. Be careful to not damage the tie-in material as you grip it to pull it through.

One side complete!
Now, complete the same process on the other side.

ALL DONE!
You now have a fully banded OTT Sparrow slingshot.

Test it out!
Give your bands a few careful draws to make sure they are rock-solid and you're all set to star shooting!
And now, watch the video to see it in action!
Frequently Asked Questions
Does the Sparrow come with everything I need to shoot?
Absolutely. It comes with a lanyard, two powerful bandsets, and tie-in tape to attach them to the frame. Everything you need to shoot is included. You supply the ammo.
What can I tie my bands on with?
Can I make FlipClips fit the Sparrow?
Can I shoot OTT and TTF?