

BeanFlip Manual
Owner's manual and setup guide.

The BeanFlip Ocularis™
The BeanFlip Ocularis™ Slingshot from SimpleShot®.
This manual will go over setup of your BeanFlip slingshot and give you the knowledge to make sure you safely and correctly use your BeanFlip Ocularis slingshot.
We'll go over setup of the BeanFlip frame with banding, possible grips for the BeanFlip and safety.
Keep scrolling for the video owners manual that covers setup demonstration!
Get to know your BeanFlip Ocularis™ Slingshot
This owners manual will go over setup of your BeanFlip Ocularis™ Slingshot, and show you how to safely and properly set up and use your slingshot.
_Keep scrolling for the video owners manual that covers setup demonstration!_

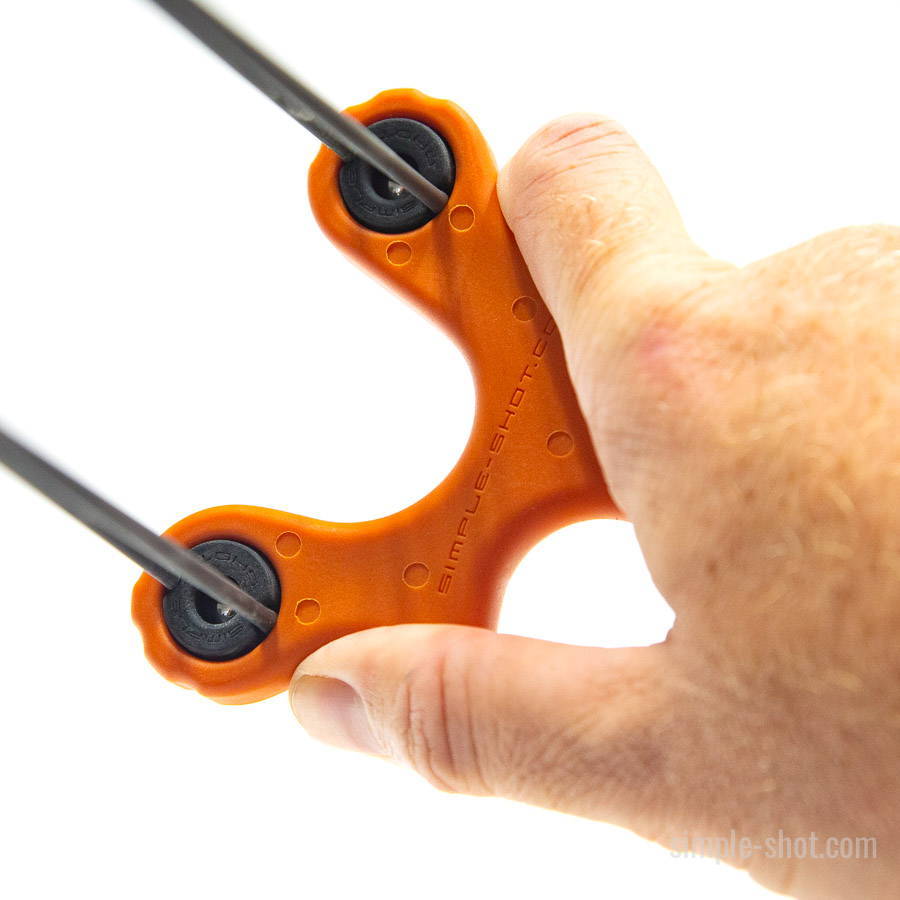
The Shooter Side
This is the side of the BeanFlip Slingshot that will face you as you shoot.

The Target Side
This is the side of the BeanFlip that will face the target as you shoot.

Ocularis™ Plugs
The Ocularis™ plugs hold the bandset to the forktips in OTT or TTF configuration.
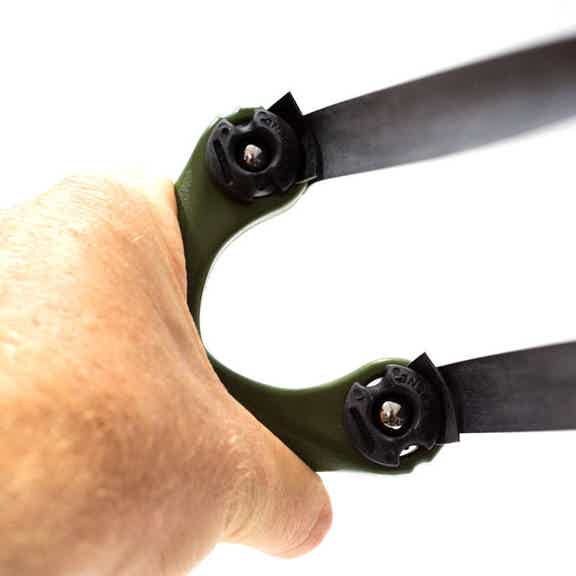
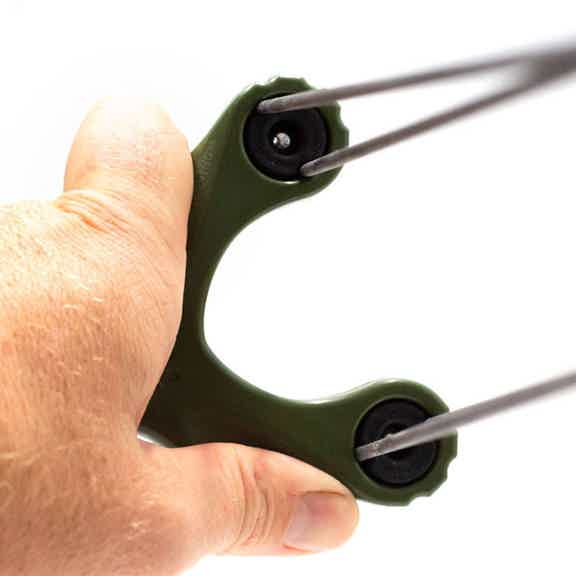
OTT (Over The Top)
Band orientation where you shoot the ammo over the top of the forks. (Ocularis™ holds the band to the TOP of the frame.)

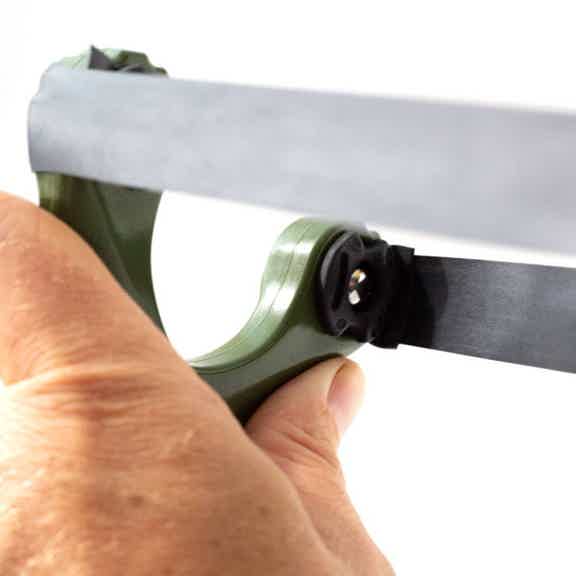
TTF (Through The Forks)
Band orientation where you shoot the ammo through the forks. (Ocularis™ holds the band to the SIDE of the frame.)
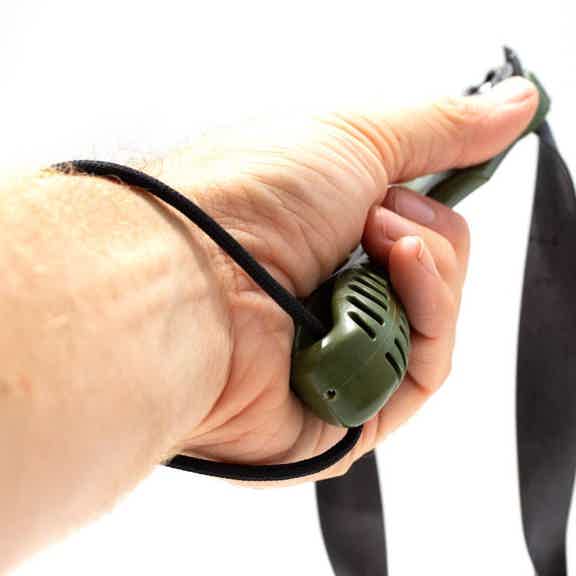
The Lanyard
A simple piece of paracord that attaches to the handle of your Axiom frame and secures the slingshot to your frame-holding hand.
BEANFLIP OCULARIS™ SLINGSHOT SETUP INSTRUCTIONS
Step one: Install the Lanyard
Setting up the frame – Installing the lanyard
It is critical to always have the lanyard securely wrapped around the wrist when shooting.
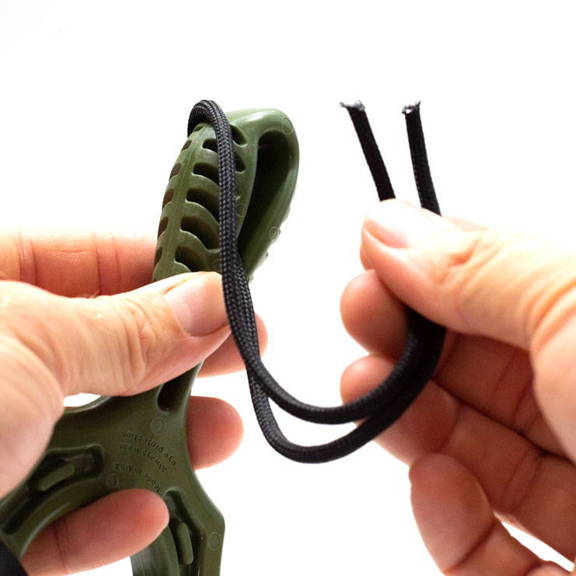
STEP 1. Thread one end of the lanyard through the hole in the end of the Scout frame

STEP 2. Tie a simple overhand knot with BOTH tag ends of the lanyard.
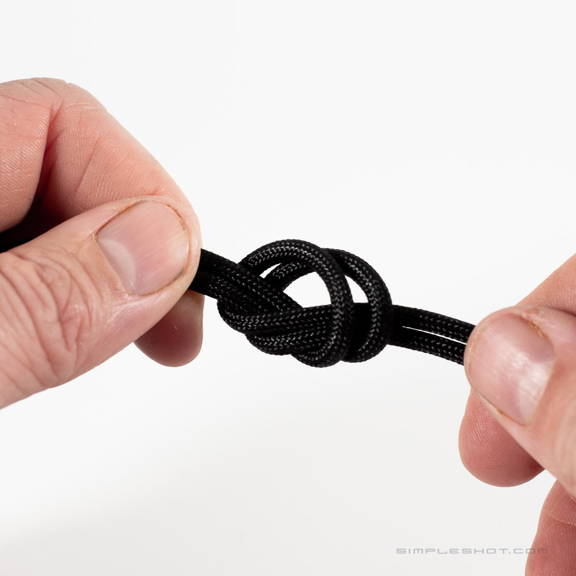
STEP 3. Pull tightly to secure the knot (adjust the position of the knot to vary size of the lanyard.
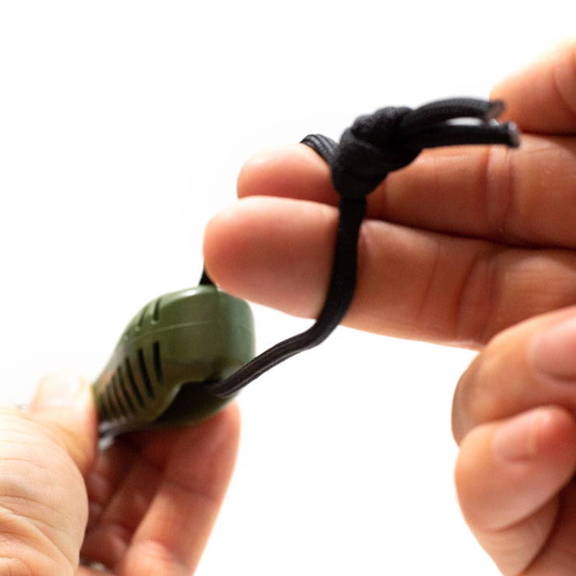
STEP 4. Check the lanyard to make sure it is secure.
ALWAYS wear the lanyard securely when shooting! The lanyard should firmly but not tight. It should be secure enough to prevent the frame from ever slipping from your hand.
Get to know Ocularis™ Plugs for your BeanFlip
Flatband Installation
Plugs install on SHOOTER SIDE. Bands wrap AROUND the frame.
Looped Tube Installation
Plugs install on TARGET SIDE. Bands pull THROUGH the frame.
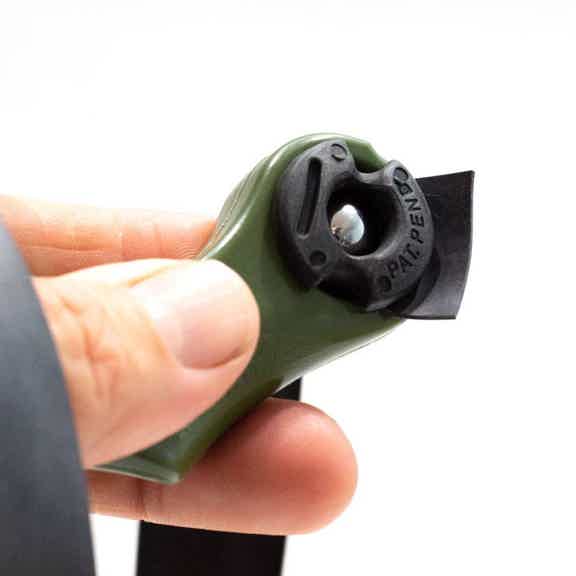
Seat the bearing
The bearing should be seated half way through the plug.
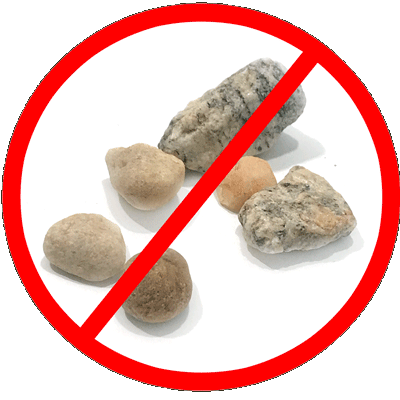
Do not shoot stones or rocks from any slingshot.
Rocks – no matter how round they look – shoot erratically and shooting them may damage your slingshot and bands.
Due to the uncontrollable nature of shooting non-spherical projectiles, shooting a rock from a SimpleShot slingshot voids any / all warranties.
Install your Bands On Your BeanFlip
First, decide whether you will be installing your bands OTT or TTF._Don't know which to use? Try both, starting with OTT._
We strongly recommend watching the video tutorial on banding. Banding must be done correctly or you will lose plugs or have band slippage. There are two full demonstrations in the video, so keep watching until you're sure you've got it.
Take your time and make SURE this is done correctly.
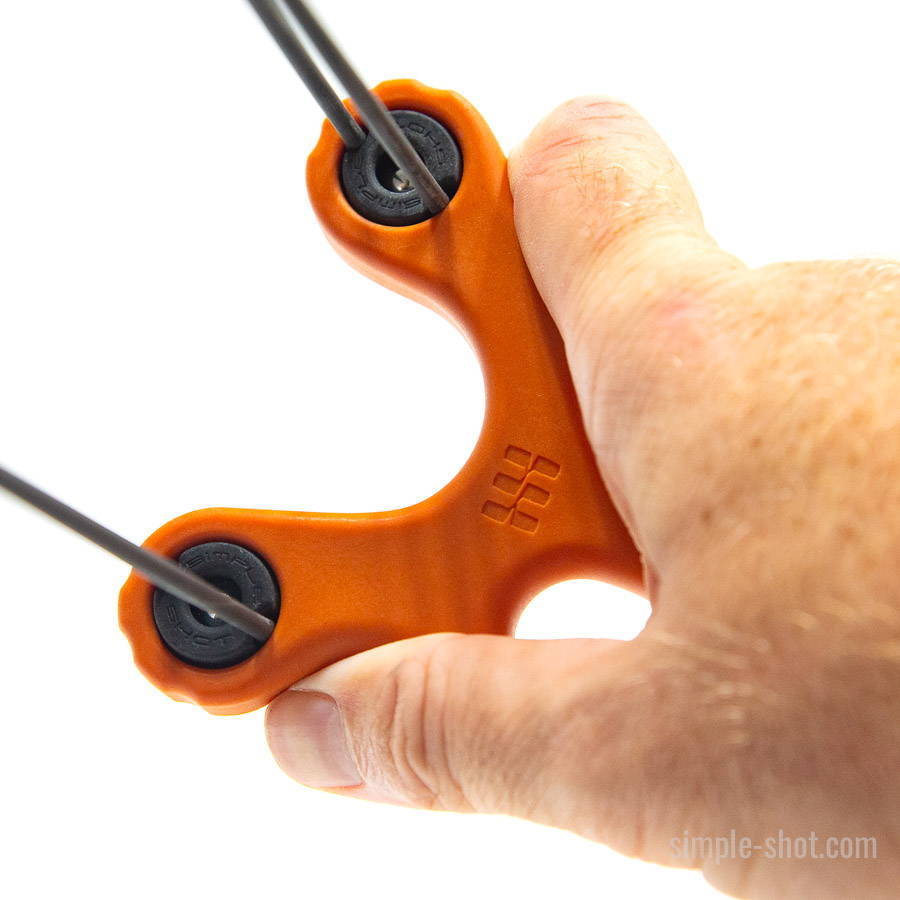
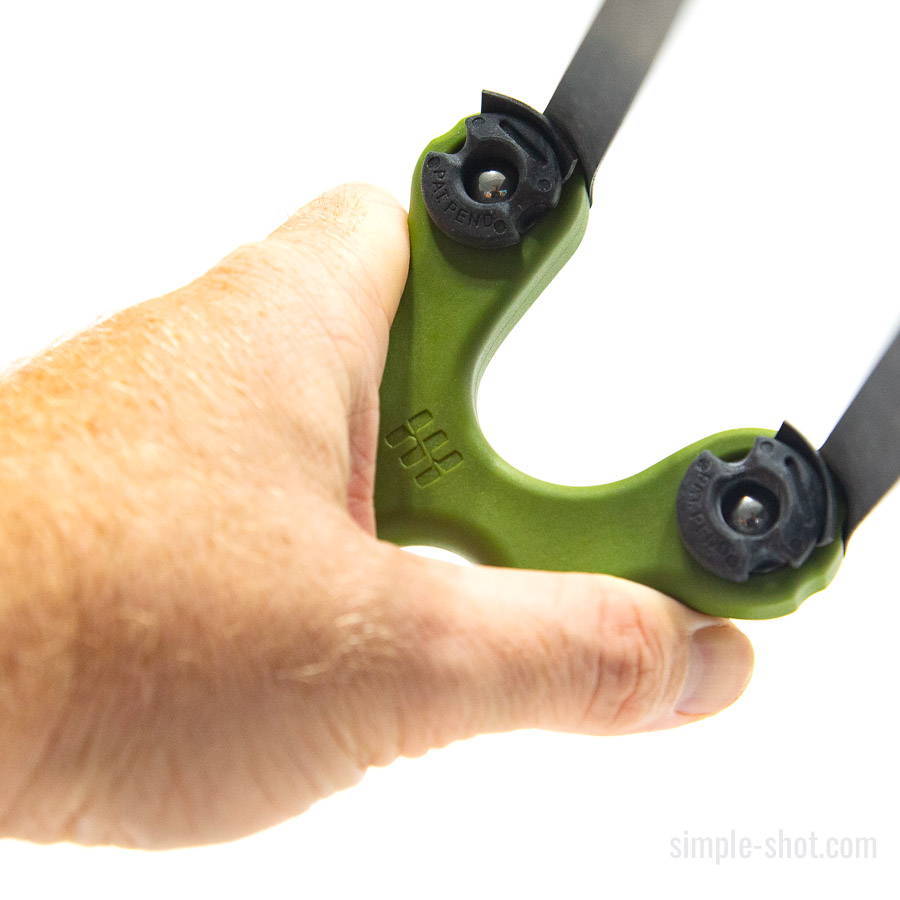
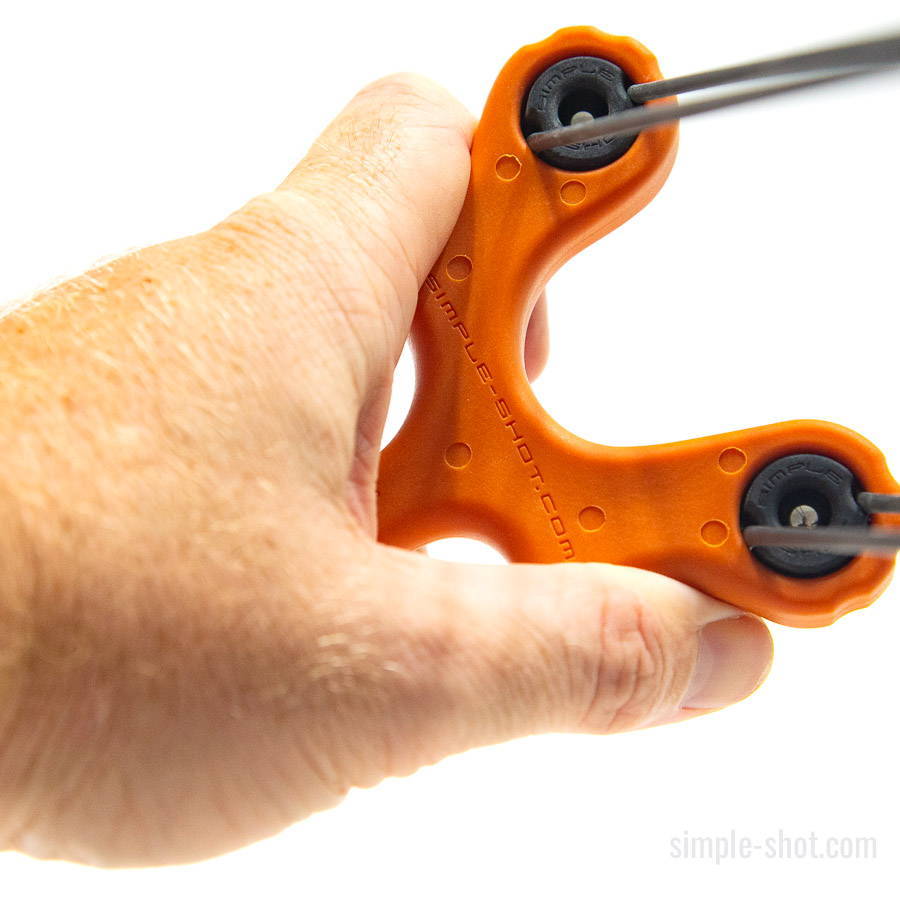
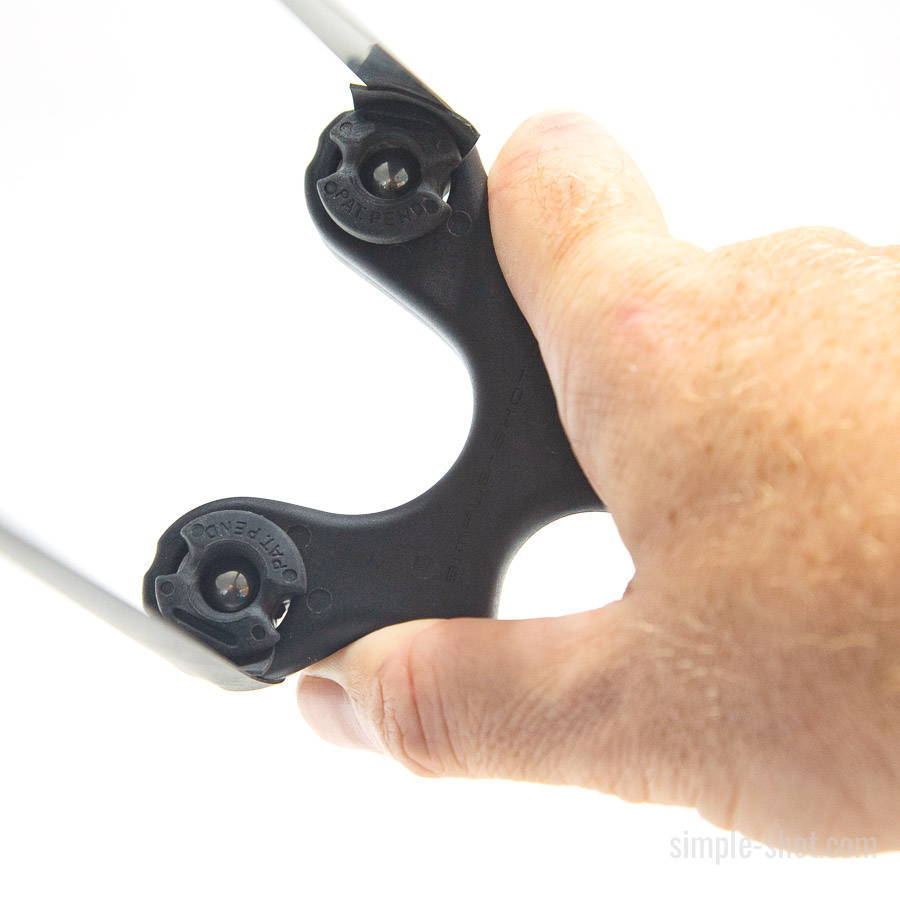
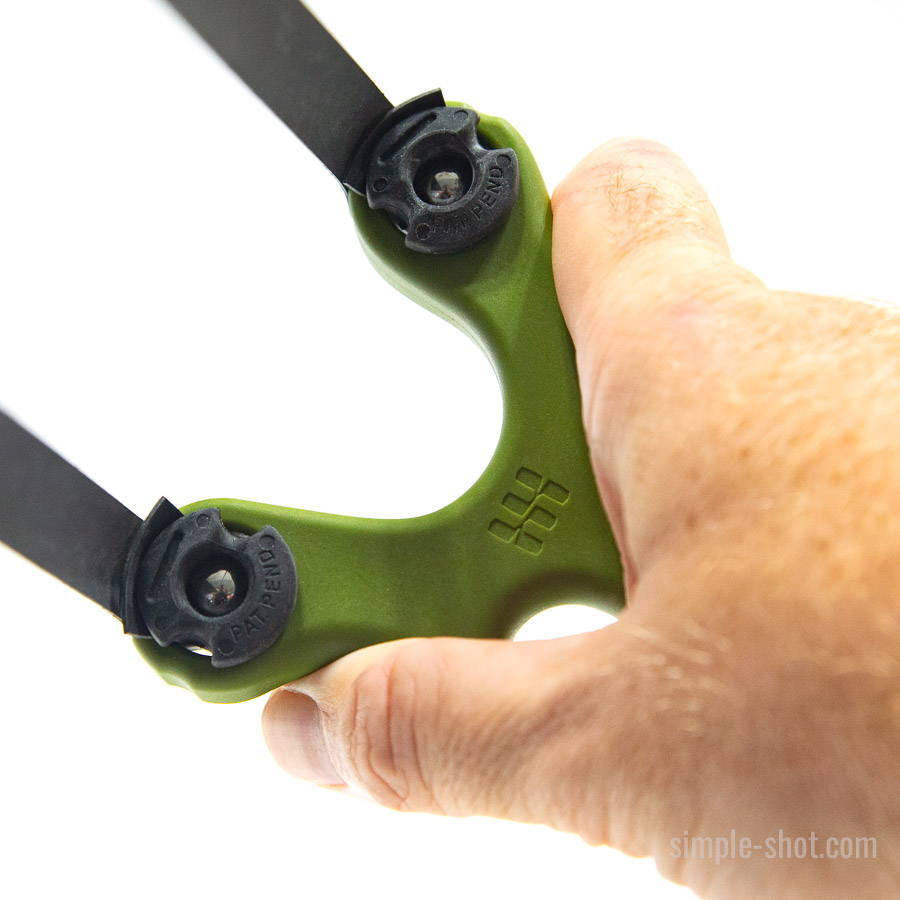
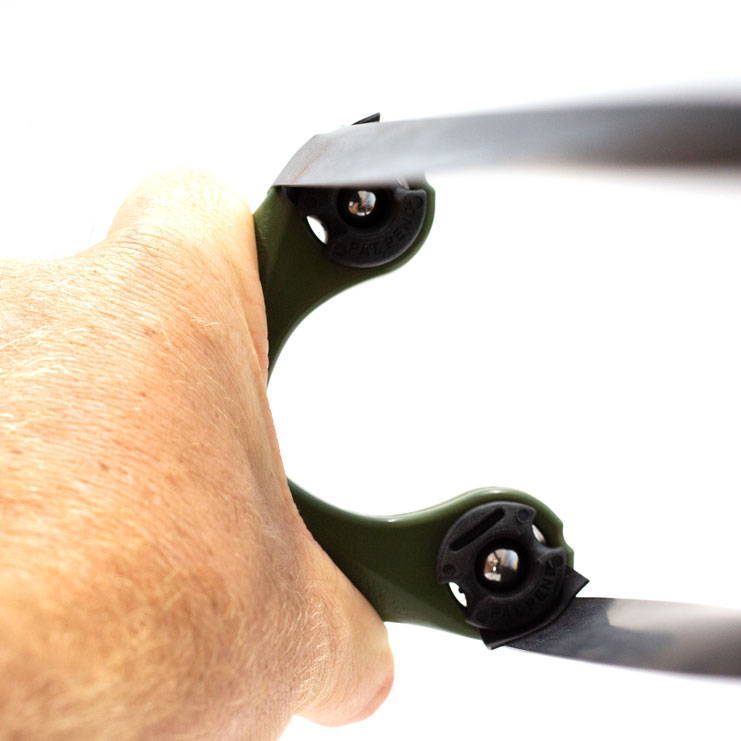
Examples of properly banded BeanFlip Ocularis™:
The BeanFlip was designed to be held with the larger fork on the bottom where the thumb supports . . .
However, there's no right or wrong. Just like skateboarding, there's regular and goofy, but neither is right or wrong.
Try them both and see which one you like better.

TTF Flatbands
Plugs on Shooter Side
Left Hand Hold
Goofy (upside down)
Looped Tubes
Plugs on Target Side
Right Hand Hold
Goofy
OTT Flatbands
Plugs on Shooter Side
Left Hand Hold
Regular
Looped Tubes
Plugs on Target Side
Right Hand Hold
Regular
Looped Tubes
Plugs on Target Side
Left Hand Hold
Goofy
TTF Flatbands
Plugs on Shooter Side
Right Hand Hold
Regular
OTT Flatbands
Goofy

Important Ocularis™ Plug Instructions!
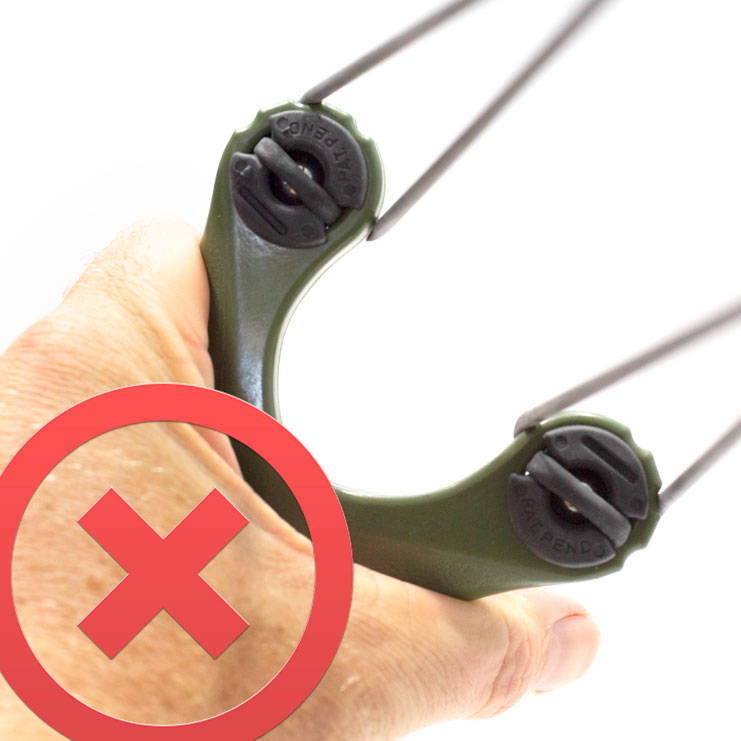
Never pull tubes AROUND the frame.
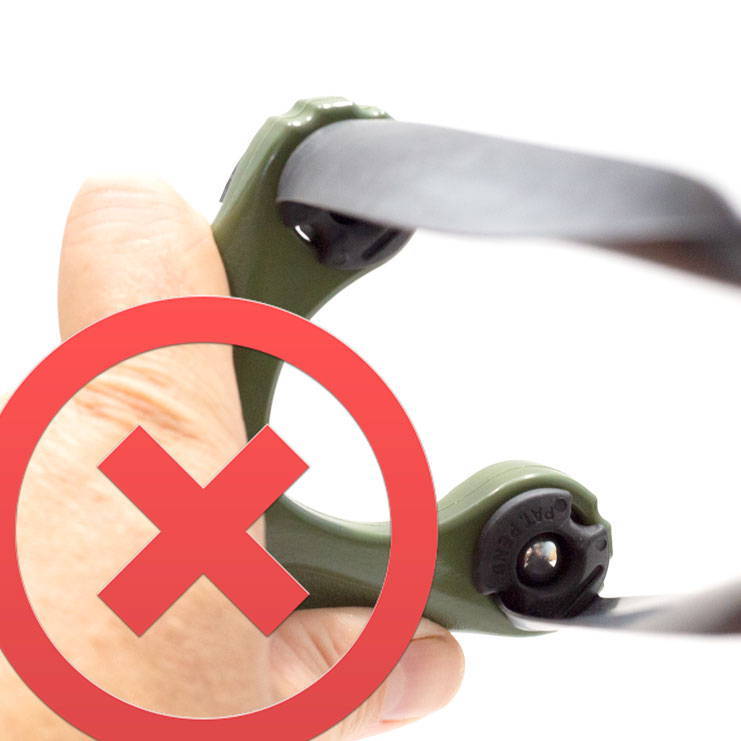
Never pull flatbands THROUGH the frame.
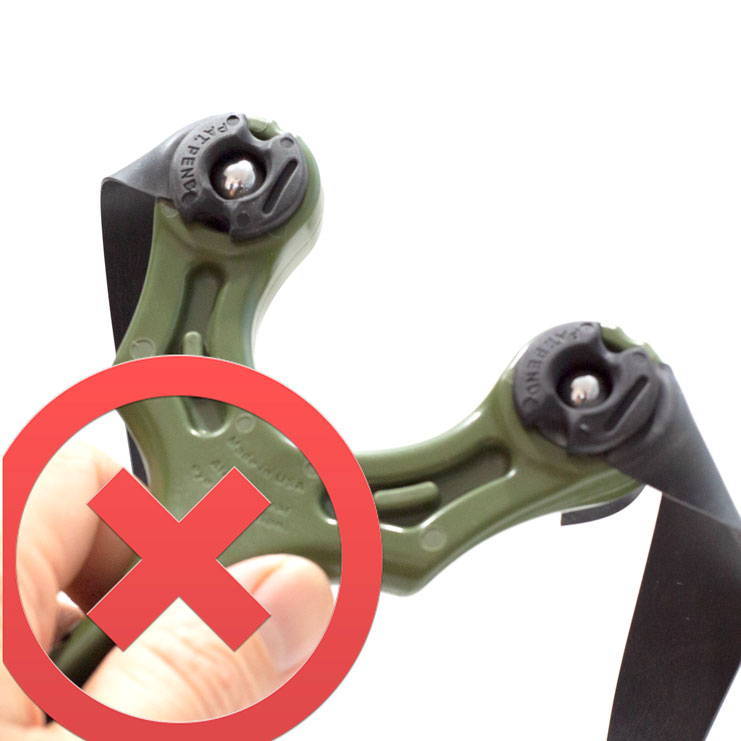
Plugs should not be on the target side with flatbands.
Check your bands before every use.
The New BeanFlip And Ocularis™ Owner's Manual
Frequently Asked Questions
Does the BeanFlip Ocularis™ come with everything I need to shoot?
Absolutely. It comes with a lanyard, two powerful flat bandsets, and a pair of Ocularis Plugs to attach them to the frame. Everything you need to shoot is included. You supply the ammo.
How do I install my Ocularis™ plugs?