

Axiom Manual
Owner's manual and setup guide.
The Axiom™ Owners Manual
The Axiom™ was designed almost 15 years ago and was only ever produced as a handmade one-of-a-kind slingshot. Now, after all these years the Axiom is available to the world.
This manual will show you how to set your slingshot up and give you everything you need to be sure that you safely and correctly use your new axiom. We will go ov frame set up and installation. Be sure to watch the video to see it all happen.
- * *
GET TO KNOW YOUR AXIOM SLINGSHOT
The very first thing you need to know about your slingshot is what we call the shooter side and the target side. The shooter side must always face you when you are shooting, and the target side must always face away. The bands will come up over the fork tips as you draw them back.
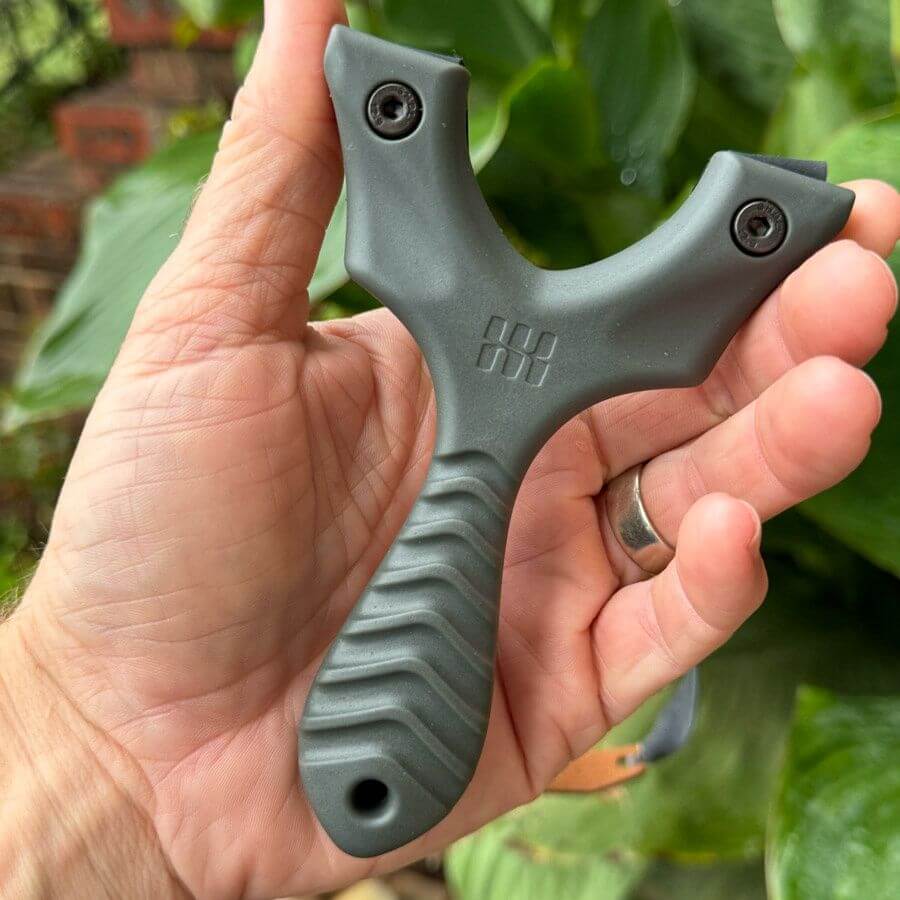
Shooter Side
The shooter side of the Axiom is the side that will face you as you shoot. The SimpleShot logo is on the shooter side.
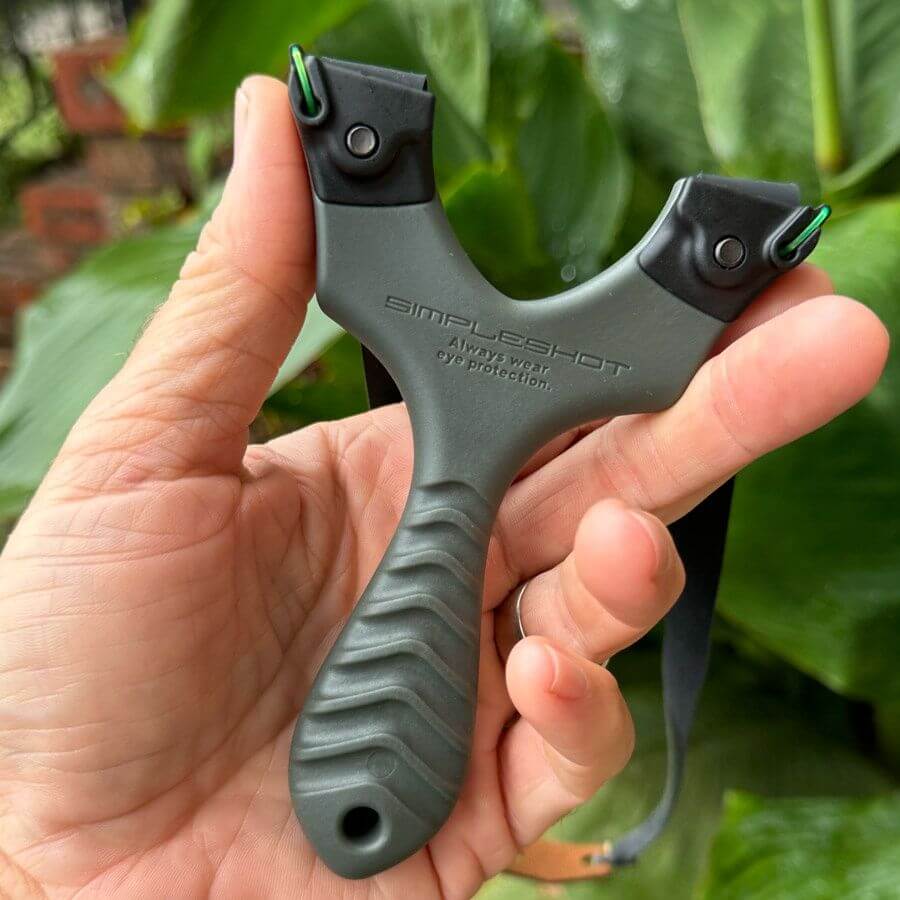
Target Side
The side of the axiom that faces the target as you shoot is called the target side. This side reads "SIMPLESHOT."
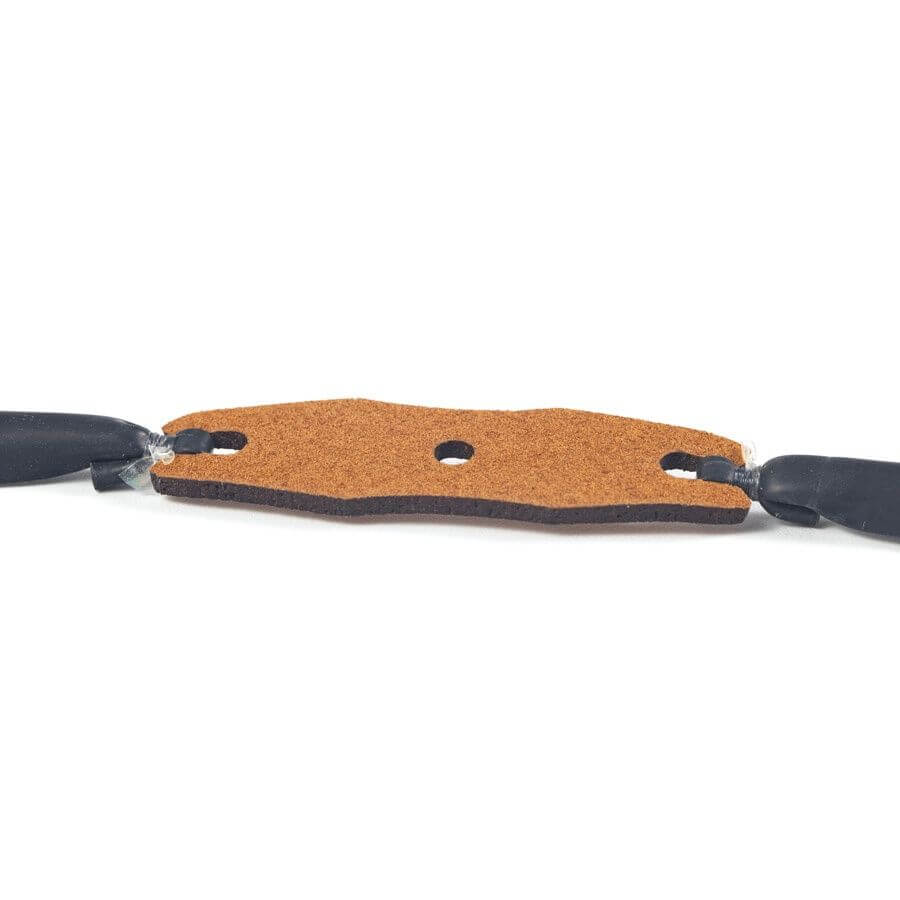
Pouch Inside
The side shown facing up is the INSIDE of the pouch. The ends of the latex are on the OUTSIDE. (Ammo goes on the inside.)

Do not shoot stones or rocks from any slingshot.
Rocks – no matter how round they look – shoot erratically and shooting them may damage your slingshot and bands.
Due to the uncontrollable nature of shooting non-spherical projectiles, shooting a rock from a SimpleShot slingshot voids any / all warranties.
SETTING UP YOUR AXIOM
Your Axiom slingshot will arrive with the clips and lanyard installed, but it is up to you to install the bands on your slingshot.
- * *
Step 1. Tune your bands
If you are brand new to slingshots, we recommend tuning your bands very slowly and carefully or come back to it later. There's no reason to be in a rush and tune your bands to be powerful as you get started. But it's a great idea to understand the concept of tuning to get the most out of your experience.
We made a whole page dedicated to band tuning which you can see here. For a fun overview of how bands work, watch this video. tuning which you can see here. For a fun overview of how bands work, watch this video.
BAND TUNING
Step 2. Install your bands
So you've tuned your bands (or, if you're just starting, it's OK to install them full length . . . you can always come back and tune them after you've gotten the hang of things). Here's the SIMPLE process of installing bands on your new Axiom!(Just starting out? Choose the clay bandsets.)

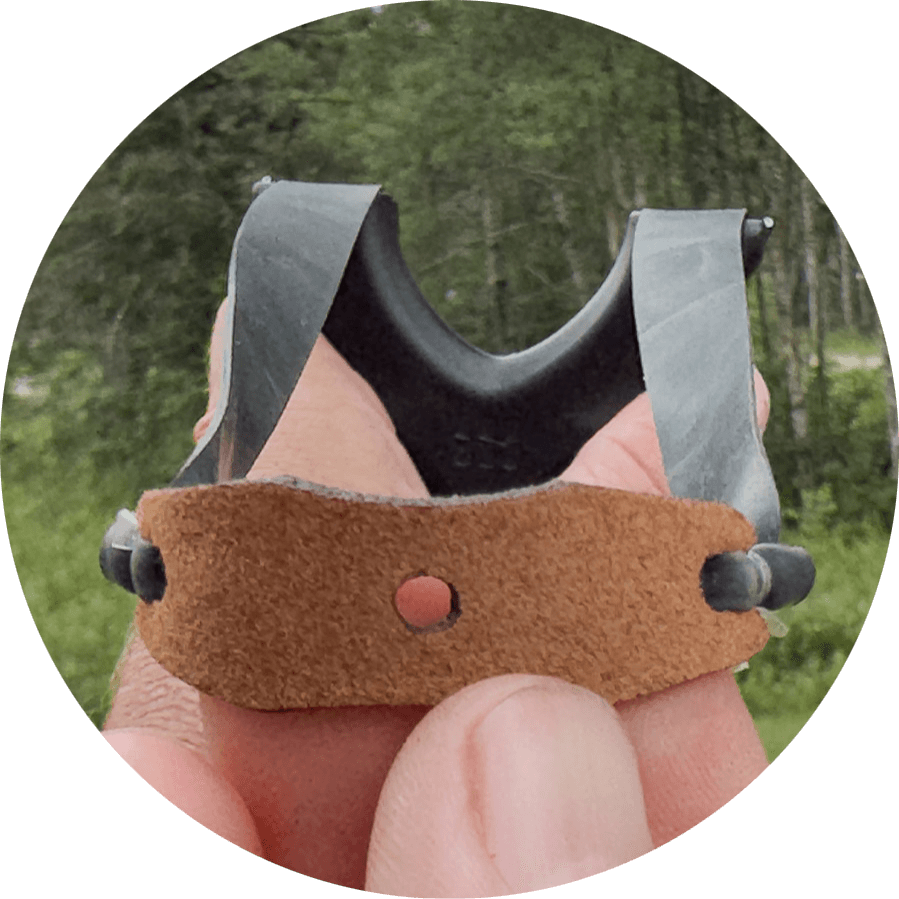
This photo* shows correct band orientation. The INSIDE of the band faces the TARGET side (the side with the clips) and the OUTSIDE of the pouch (see the "ears" of the latex where they tie on?) faces the SHOOTER side.
_*The band is absurdly short in this photo to show proper orientation to the frame._
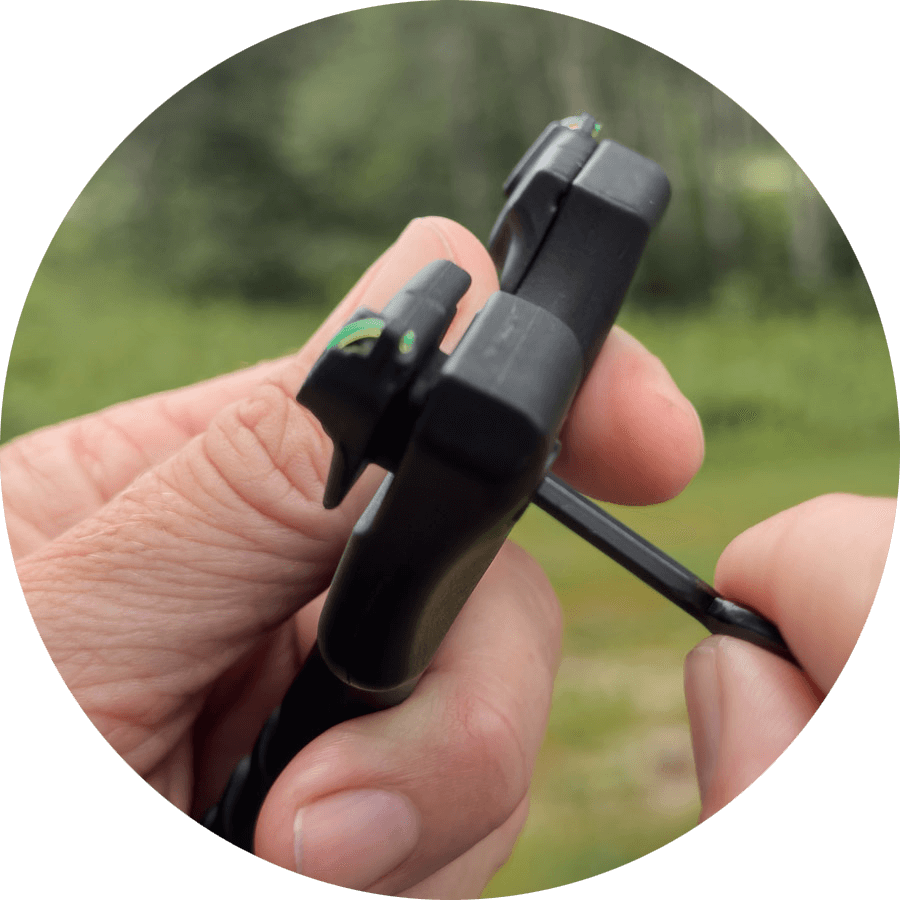
- Loosen the fastener and press to open a gap for the band. Do not remove the clip.
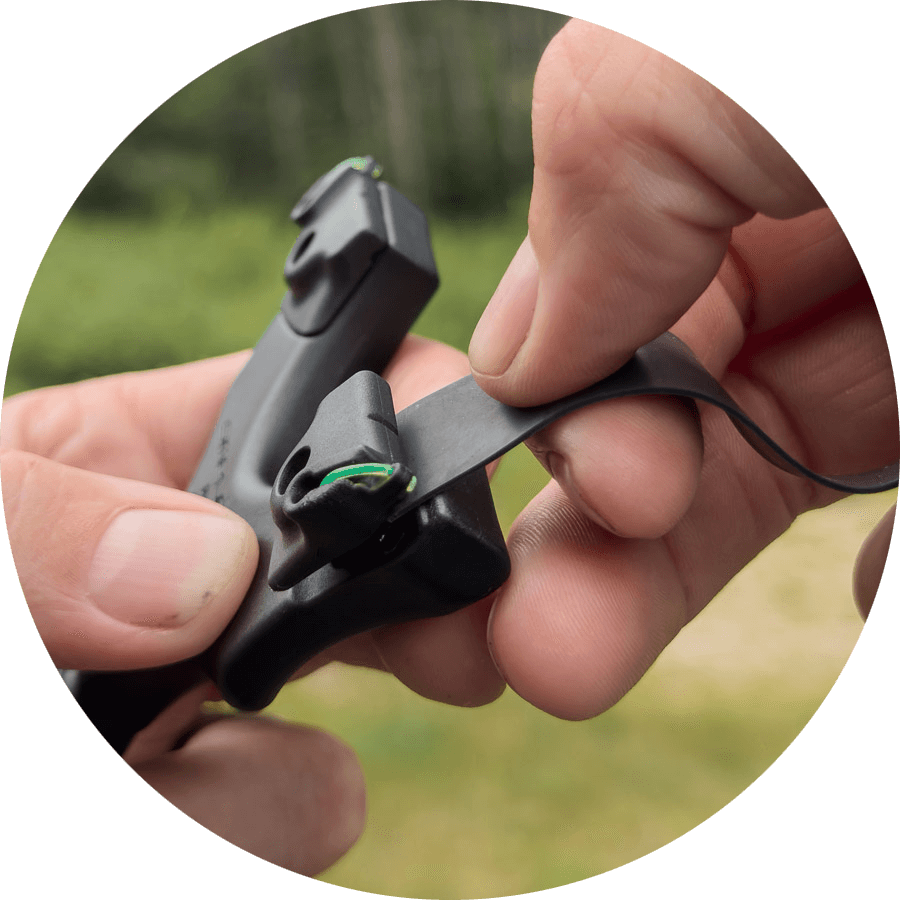
- Place the band into the gap. Keep it centered and flat.
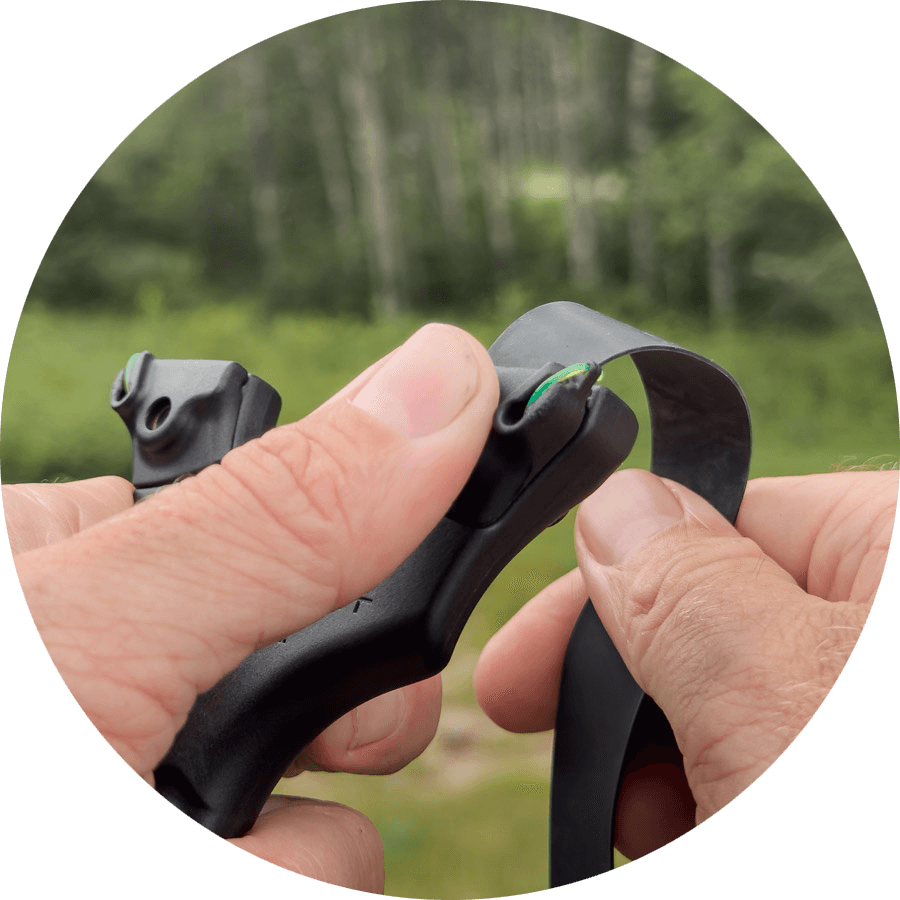
- Pinch the clip closed to hold the band in the groove, and . . .
- Tighten the fastener snug to clamp the band in place.
- Repeat for the other side and you are done!
The ends (we call them the ears) of the band should face OUT an there are no twists.
No need to tighten very hard. Be careful to not damage the band material by over-tightening your integrated clips.
Nathan introduces the Axiom (and sets it up).
GET YOUR AXIOM